Home » About Us » HUAN News » Blog » Controlling Flash and Parting-Line Defects on a 220L Drum Blow Molding Machine
Controlling Flash and Parting-Line Defects on a 220L Drum Blow Molding Machine
Views: 0 Author: Site Editor Publish Time: 27-10-2026 Origin: Site
Flash is an expected feature of extrusion blow molding, but uncontrolled flash is not an acceptable operating strategy. On a large drum, excess material can raise resin cost, complicate trimming, interfere with closure features, and create handling hazards. A parting-line defect may also reveal that the parison was poorly positioned or that the mold did not close consistently. The correct goal is not zero visible excess material at every stage; it is controlled formation, reliable removal, and a finished drum that meets the approved geometry and quality requirements.
Identify where the flash originates
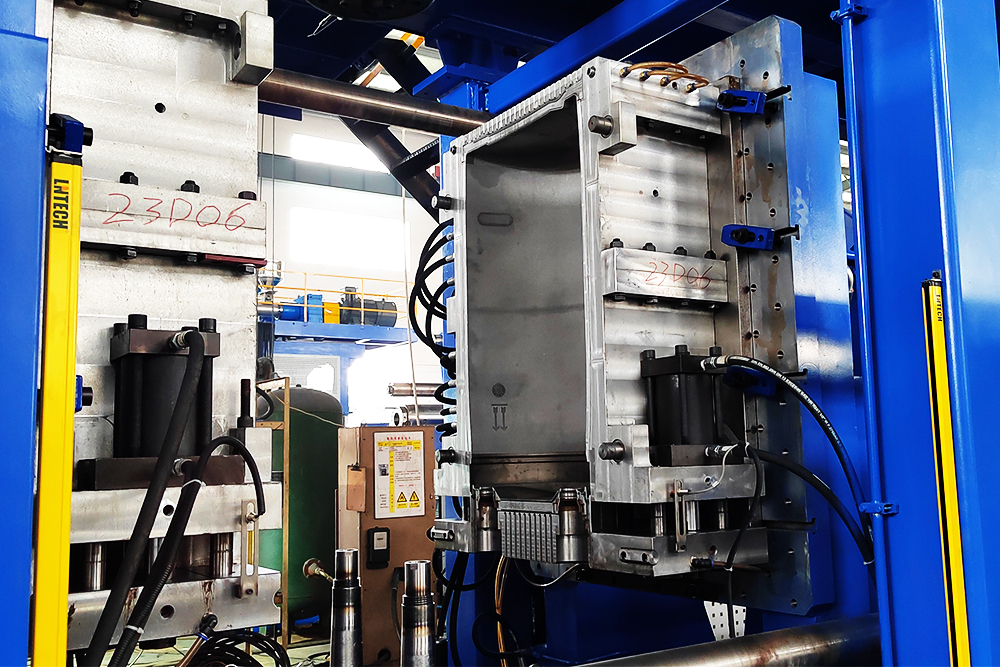
Map the flash around the top, bottom, handle or ring features, and parting line. Record whether it is symmetric and whether its size changes during the shift. A large, stable flash zone may reflect tooling design or parison distribution. Flash that increases suddenly can indicate a process or mechanical condition that requires investigation. Do not use trimming as a way to hide an unstable mold-closing problem. Before adjusting the equipment, confirm the mold is clean, the mating surfaces are in good condition, and the machine is operating within its approved settings.
Flash pattern
Engineering question
Evidence to gather
Heavy bottom flash
Is parison length or capture excessive?
Cycle timing and sample weight
One-sided parting flash
Is alignment or material placement uneven?
Mold contact and parison position
Ragged trimmed edge
Is cutting consistent?
Blade condition and fixture support
Flash near bung
Could sealing land be affected?
Close-up and functional closure check
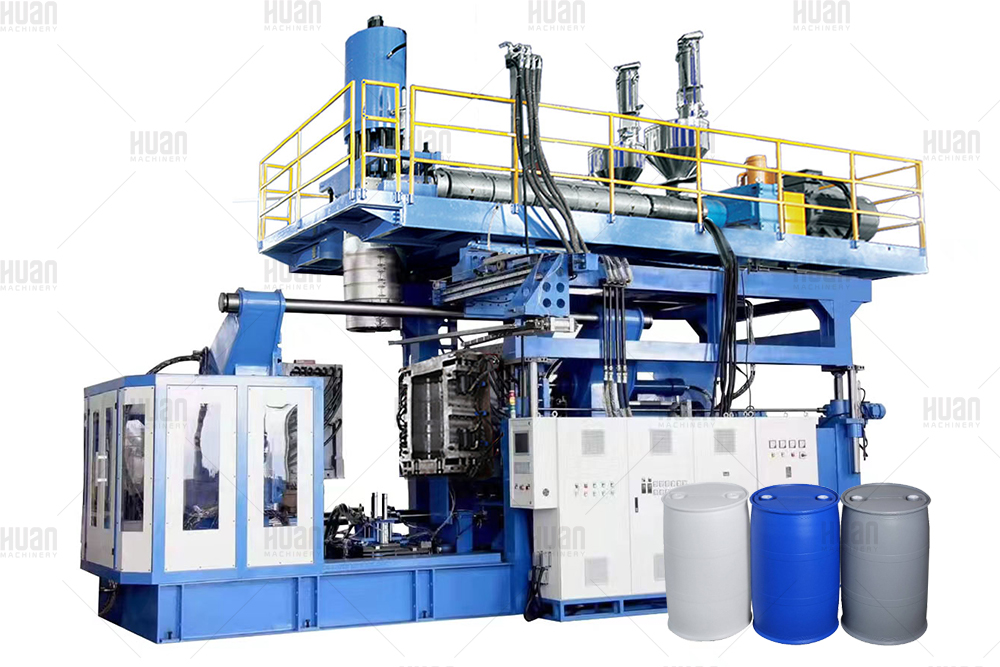
The selected extrusion blow molding machine for 220L drum should offer the control and access needed to stabilize the process. A machine brochure may describe clamping force, but effective parting-line quality also depends on tooling fit, closing sequence, material distribution, and the condition of the mold. Ask how these factors will be checked during acceptance trials.
Understand the resin-cost trade-off
Flash can be collected and, where approved, returned to a controlled material stream. That does not make it free. It must be handled, ground, identified, stored, and dosed, and it may be subject to limits for the intended packaging application. Excessive flash consumes extrusion capacity even when some material is recovered. Evaluate total material processed per accepted drum rather than looking only at the finished weight. A process that produces slightly faster shells but far more excess material may be less efficient overall.
A 220L plastic drum blow molding machine should be trialed with a defined product weight and flash collection method. Weigh finished drums and removed flash separately over a representative run. Record rejects as well, because a low flash weight is not an achievement if the process produces thin walls or weak joining regions. The objective is a stable balance between material placement, product integrity, and recoverable waste.
Treat trimming as a controlled operation
The trimming station must locate the drum repeatably and remove the intended excess without cutting into functional surfaces. Blade wear, fixture movement, and inconsistent drum temperature can affect the result. A cut that appears clean at low speed may become ragged at normal production rate. Inspect the trimmed edge for sharp projections and verify that the trimming process does not damage the closure, ring, or support areas. Define what a normal operator can adjust and what requires maintenance intervention.
Control point
Routine check
Response if abnormal
Mold closing
Contact and alignment condition
Inspect tooling and mechanism
Parison placement
Position and distribution
Controlled recipe adjustment
Trim tooling
Blade and fixture condition
Maintain or replace components
Finished edge
Burr, sharpness, functional clearance
Isolate and investigate
Diagnose parting-line defects without guesswork
When a line appears raised or irregular, determine whether it is excess flash, incomplete joining, a mold mismatch, or a post-mold handling mark. These causes require different corrective actions. A mismatch suggests inspection of the mold alignment and mounting system. Weak joining points toward material condition and pinch geometry. A post-mold mark requires observation of conveyors or fixtures. Section samples when appropriate and keep the comparison tied to a specific machine recipe and tooling condition.
For a large volume HDPE drum blow molding machine, mold weight and handling arrangements can influence the maintenance strategy. Operators should not attempt improvised alignment adjustments on heavy tooling. Use the approved procedure and qualified staff. The plant should retain a baseline record from commissioning so later changes can be distinguished from the original mold condition.
A controlled flash-weight study
Collect removed flash and finished drums from the same defined production interval. Weigh them separately using suitable equipment and record rejects rather than excluding them from the calculation. Compare the result with the process recipe, material lot, and tooling condition. If the ratio changes after maintenance, investigate why. A useful study covers enough production time to capture normal variation. A handful of carefully selected samples may not reveal the waste generated during routine operation or recovery after a stoppage.
Inspect the tool before compensating in software
A process adjustment may temporarily conceal a mechanical problem, but it rarely makes that problem disappear. If the parting line becomes uneven after a mold change, verify seating, mounting, alignment, and contact condition using the approved maintenance method. If the mold is damaged, an aggressive parison correction can create weak areas elsewhere. Separate mechanical inspection from process optimization. Only after the tooling condition is confirmed should the team tune material placement to improve flash and finished-wall distribution.
Include the downstream operator in acceptance
The people who trim, inspect, and pack drums often notice recurring flash problems before they appear in management reports. Ask them where sharp edges occur, which pieces jam in the conveyor, and whether recovered flash is easy to collect without mixing with other materials. Observe their work at normal speed. A trimming solution that requires constant manual intervention may not be suitable for a high-output line even when its finished samples look attractive. The acceptance trial should include routine operating conditions and maintenance access.
Where recovered flash is permitted in the material recipe, its storage and identification matter as much as the grinder itself. Keep incompatible colors and grades separate and prevent dirt or metal fragments from entering the material stream. If the application restricts recycled content, follow the approved material specification. A tidy recovery area reduces the risk that an attempt to save resin introduces a new source of defects.
Build a practical flash-control dashboard
A useful shift record contains finished drum weight, removed flash weight, reject count, and the most common trim defect. Track trends rather than relying on a single sample. If flash rises after a mold intervention, inspect the affected tooling. If rejects rise after a speed increase, check whether the downstream trimming and cooling stages remain synchronized. Include the labor and downtime needed to handle flash in any cost comparison. The real business measure is accepted output per unit of material and operating time.
Indicator
What it reveals
Management use
Flash mass per accepted drum
Material distribution efficiency
Trend after recipe changes
Trim rejection rate
Downstream process stability
Maintenance trigger
Parting-line defect location
Localized technical issue
Focused mold inspection
Regrind inventory
Recovery discipline
Prevent uncontrolled mixing
Before purchasing a full automatic 220L plastic drum production line, ask how flash is separated, transported, ground, and recorded. Request samples of trimmed drums at the proposed operating rate. If you are experiencing heavy flash, request a 220L flash-control assessment with photographs and material-balance records. If a new project needs automated trimming, contact us for a drum trimming-line discussion before finalizing the layout. Good flash control is a combination of precise molding, reliable trimming, and accountable material handling—not a claim that all excess material disappears.